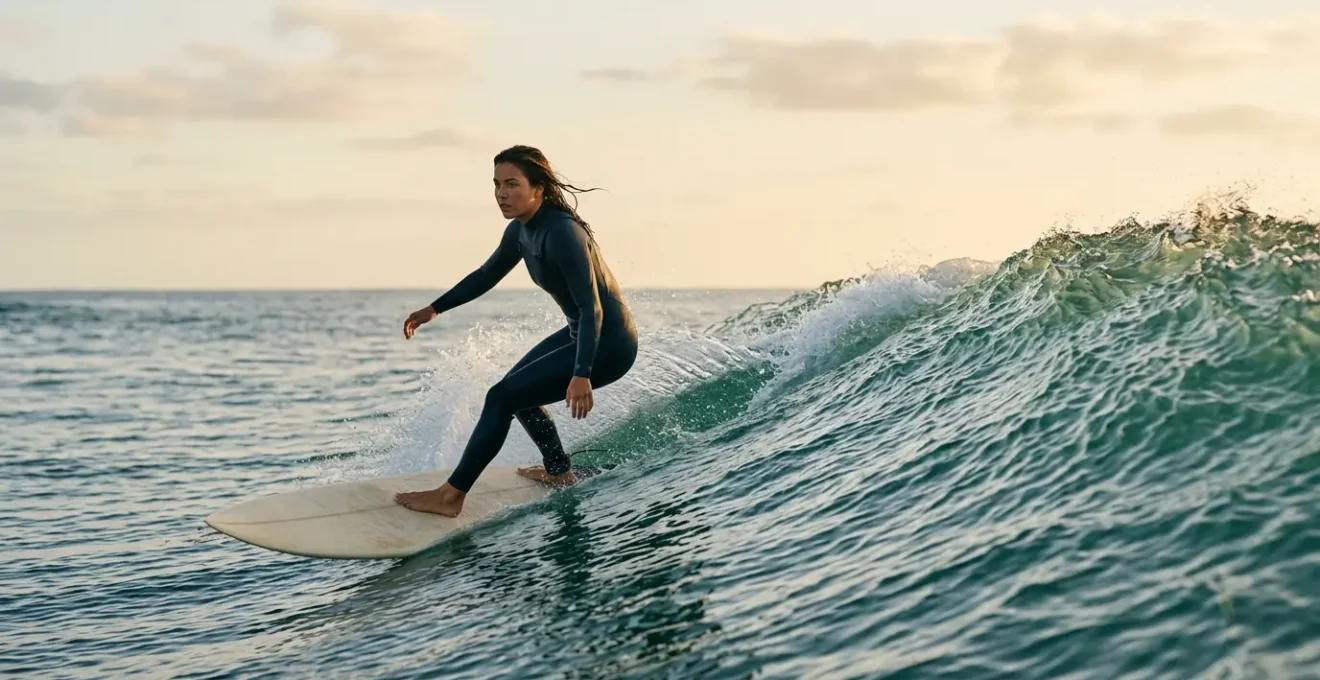
The frustrating plateau between catching whitewater and confidently riding green waves isn’t about finding a magic beach; it’s about a fundamental shift in understanding. This guide isn’t another list of spots. It’s a coaching manual on the physics of wave types, the strategy of lineup dynamics, and the precise moment to evolve your equipment, turning you from a wave-catcher into a true wave-reader.
You’ve done it. You can pop up consistently, ride the whitewater to the shore, and you’ve even angled down the face of a few clean, green waves. You’re a surfer. But now, you’re stuck. Every session feels the same. You see other surfers gracefully carving up waves you can’t seem to catch, or when you do, the wave outruns you. The common advice starts to ring hollow: « just get a smaller board, » or « you have to go to Bali. » While well-intentioned, this advice misses the core of the intermediate problem.
The transition from beginner to a confident intermediate isn’t a single leap; it’s a series of conscious decisions grounded in a deeper understanding of the ocean. It’s about learning to see the unseen forces at play. The real question isn’t *where* to go, but *what* to look for. It’s about recognizing the subtle differences in wave energy, making calculated equipment choices, and learning to read the human dynamics of a crowded lineup. Forget the generic tips you’ve read a dozen times.
Instead, what if the key was to stop thinking about your board and start thinking about fluid dynamics? What if lineup etiquette wasn’t a list of rules, but a masterclass in social and spatial awareness? This guide is built on that premise. We will dissect the crucial decision points you face every session, equipping you with the mental models and technical knowledge to break through the plateau. We’ll analyze wave types, demystify board transitions, and provide frameworks for everything from reading tides to knowing when your body, not your board, is the limiting factor.
To help you navigate this journey, this article breaks down the essential skills and knowledge areas that define the intermediate surfer. Explore the topics below to build a solid foundation for your progression.
Summary: A Coach’s Guide to Breaking Your Surfing Plateau
- Point Break vs Beach Break: Which Is Easier for Learning Turns?
- How to Respect the Lineup Without Getting Yelled At?
- Soft Top vs Fiberglass: When Is the Right Time to Switch?
- The « High Tide » Mistake That Makes Waves Disappear
- When to Wear a Helmet Surfing: Reef Breaks vs Sand Bars?
- Outdoor Adventure Tech: Which Satellite Messenger Is Essential for Off-Grid Safety?
- Personalized Fitness Training Plans: How to Build One for Post-40 Mobility Without a Coach?
- Choosing a Bali Yoga Retreat: How to Avoid « Insta-Famous » Traps?
Point Break vs Beach Break: Which Is Easier for Learning Turns?
The first major mental shift for a progressing surfer is understanding that not all waves are created equal. The two most common types you’ll encounter are beach breaks and point breaks, and they offer vastly different canvases for practicing turns. Beach breaks, which break over sandbars, are everywhere. In fact, beach breaks require less swell to deliver good waves and can be incredibly fun, but they are also shifty and unpredictable. This forces you to develop sharp, reactive wave-reading skills.
The power source for a turn on a beach break is often a small, steep « power pocket » just before the lip of the wave crumbles. Your turns must be quick, vertical, and timed perfectly. There’s little room for error. This is where you learn to generate speed from nothing and react in a split second.
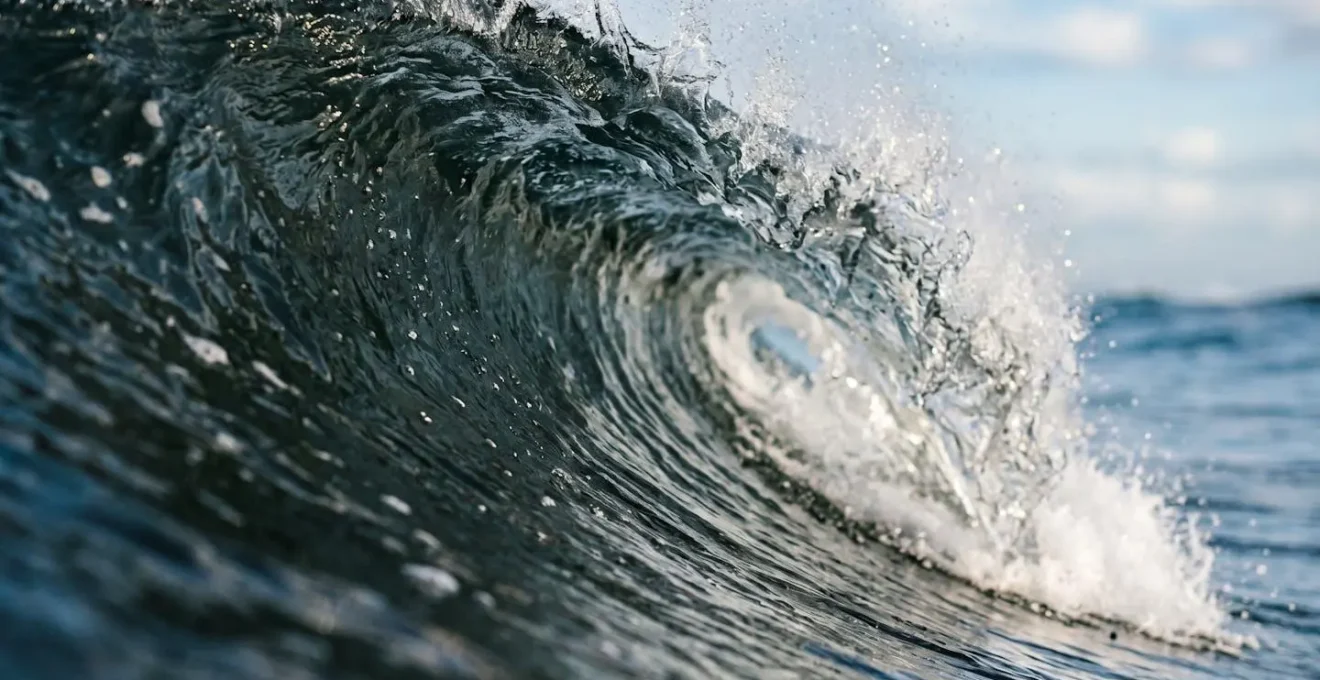
Point breaks, where waves wrap around a piece of land, are the opposite. They are the metronomes of the surfing world—predictable, long, and peeling perfectly. This environment is legendary for learning to connect maneuvers. The long, open face gives you time and space to think, to set your rail, and to feel the flow of a proper bottom turn into a top turn. However, this perfection can create what coaches call the « predictability trap. » A surfer who only surfs point breaks may develop a beautiful, flowing style but lack the crucial, fast-twitch wave reading skills needed to handle a chaotic, shifty beach break. For an intermediate, the ideal path is to use point breaks for rehearsing technique and beach breaks for testing reaction time and adaptability.
Ultimately, neither is « easier »; they teach different, equally important skills. Use the point break as your studio and the beach break as your arena.
How to Respect the Lineup Without Getting Yelled At?
Paddling into a new or crowded spot can be more intimidating than the waves themselves. « Lineup etiquette » isn’t just a rigid set of rules; it’s a dynamic system of awareness, respect, and communication that ensures safety and a good vibe for everyone. The biggest mistake intermediate surfers make is being too eager. They paddle straight to the peak without understanding the local flow, the pecking order, or the true take-off spot.
The pro approach is to become an observer first. Before you even get your hair wet, apply the 15-Minute Observation Framework. Spend time on the beach watching the lineup. Identify who has priority, where the sets are breaking, and where the « scraps » are—the unridden inside waves or wide-swinging sets that you can pick off without getting in the way. This isn’t about being timid; it’s about being strategic. You’ll catch more waves and earn more respect by being patient and smart than by being aggressive and clueless.
Even with the best intentions, mistakes happen. You might accidentally drop in on someone or get in their way while paddling back out. How you react is everything. A simple, immediate apology can defuse almost any situation. As the experts at Surfline note, it’s a universally understood gesture.
If you accidentally drop in on someone, an immediate ‘Sorry!’ will almost always take the heat out of it.
– Surfline Etiquette Guide, Surf Etiquette Guidelines
Remember: your goal is to be a low-impact, high-awareness presence. Sit on the shoulder, be friendly, cheer for others’ good waves, and patiently wait for your turn. You’ll find that the « locals » are often happy to share waves with someone who shows respect for the spot and the community.
By demonstrating awareness and respect, you’re not just avoiding confrontation; you’re actively contributing to a positive atmosphere in the water.
Soft Top vs Fiberglass: When Is the Right Time to Switch?
Graduating from your trusty foam board is a major rite of passage. But moving to a « hard » fiberglass board too soon can kill your progression and wave count. A soft top is forgiving; its high volume gives you stability and paddling power, helping you catch a ton of waves. A fiberglass board is a precision instrument. It’s less forgiving but offers a direct, responsive connection to the wave, allowing for quicker turns and more speed. The question isn’t about which is better, but about when *you* are ready for that new tool.
The decision shouldn’t be based on what looks cool under your arm. It should be based on a proven set of skills. Before you even think about switching, you need to be dominating your foam board. You should be able to consistently catch green waves, angle your takeoff, and generate your own speed down the line. If you’re still relying on the whitewater to push you, you’re not ready. A fiberglass board won’t fix bad habits; it will amplify them.
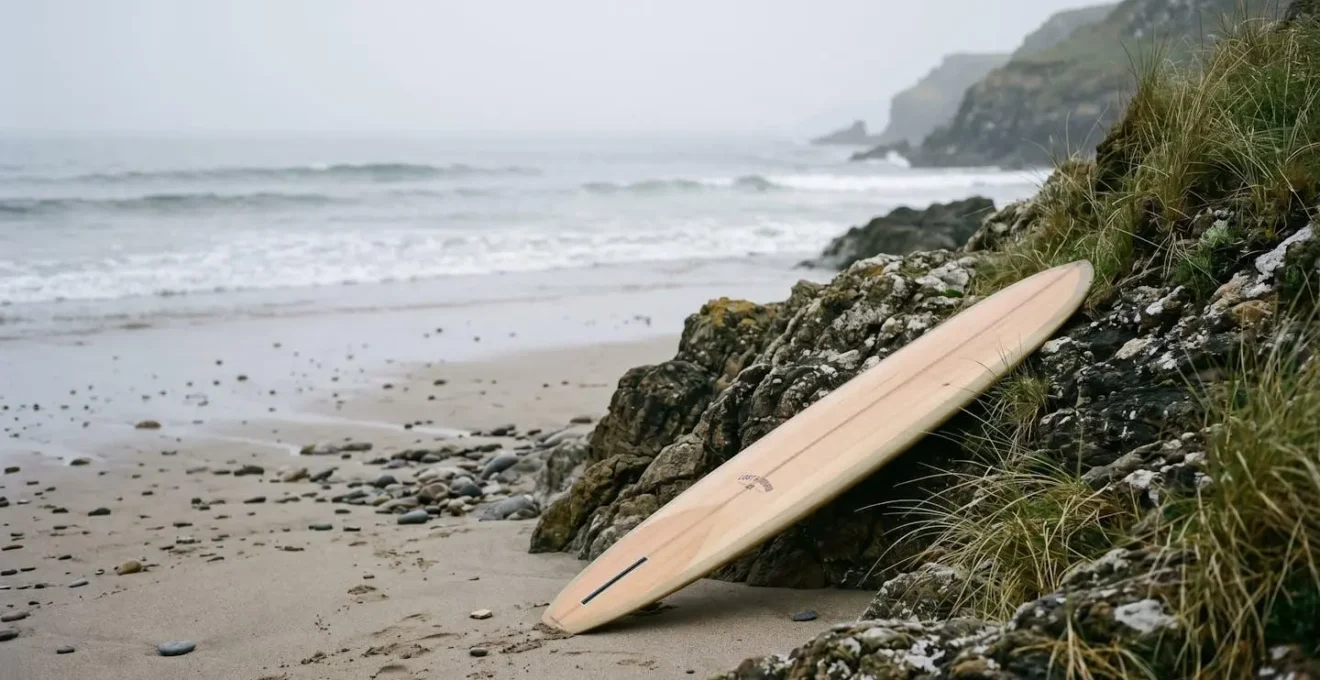
Your first fiberglass board shouldn’t be a wafer-thin pro model. Look for a « funboard » or « mid-length »—something in the 6’8″ to 7’6 » range with plenty of volume and a forgiving shape. This type of board acts as the perfect bridge, offering more performance than a foamie without the punishing learning curve of a shortboard. It provides a stable platform to refine your turns while still being maneuverable.
Your Fiberglass Readiness Checklist
- Speed Generation: Can you consistently generate your own speed down the line on your foam board?
- Controlled Fade: Can you perform a controlled fade during take-off to position yourself deeper on the wave?
- Angled Take-Off: Can you angle your take-off effectively rather than just going straight to the beach?
- Green Wave Comfort: Are you comfortable riding the unbroken green face of waves for most of their duration?
- Basic Turns: Can you execute basic bottom turns to redirect your board and set up for the next section?
If you can honestly check off all these points, you’re not just ready for fiberglass; you’ve earned it. Your wave count might dip temporarily, but the new feeling of speed and control will be your reward.
The « High Tide » Mistake That Makes Waves Disappear
You check the forecast: 3-4 feet, light offshore winds. It looks perfect. You get to the beach, and… nothing. The waves are slow, fat, and breaking right on the shore. This is the classic « high tide mistake. » For many surf spots, especially beach breaks, the tide is the master controller that determines whether a swell turns into epic waves or mush. Understanding its effect is a non-negotiable skill for an intermediate surfer.
Imagine a sandbar under the water. At low tide, the water is shallow over the bar. An incoming wave feels the bottom abruptly, forcing it to stand up tall and break with a steep, powerful face. This is often what creates hollow, performance-oriented waves. As the tide comes in, the water level rises. Now there’s a deep cushion of water over that same sandbar. The wave feels the bottom much more gradually, if at all. It doesn’t get that upward push. Instead, it becomes slow and « fat. » As surf forecasters at Surfline explain, too high of a tide for most spots will swamp the surf out, causing waves to be mushy and break onto themselves rather than top-to-bottom.
This dynamic changes depending on the type of break, creating a synergy you must learn to read:
- Fat, spilling beach breaks often need a lower tide to steepen up and provide a rideable face.
- Shallow reef breaks are often best on a mid-to-high tide. The extra water provides a safety cushion over the sharp reef.
- Point breaks can be less tide-sensitive, but often have a « magic window » at a specific tide level where the wave peels perfectly.
- The rate of change—the hour just before or after a peak high or low tide—is often the sweet spot, as moving water creates currents that can enhance wave shape.
A true intermediate doesn’t just check the swell; they cross-reference the swell period and direction with the tide chart to predict the one or two hours when the conditions will truly align.
Stop letting the tide dictate your session’s success. Start using it as a strategic tool to ensure you’re in the water when it’s at its absolute best.
When to Wear a Helmet Surfing: Reef Breaks vs Sand Bars?
As you progress, you’ll inevitably be tempted by more challenging waves. This often means surfing over reef or rock bottoms instead of sand. While these spots can produce world-class waves, they also introduce a significantly higher risk of injury. The decision to wear a helmet is a personal one, but it should be an informed one based on a clear-eyed assessment of risk, not on aesthetics or what others are doing.
The primary danger is not just falling, but the combination of wave power and what lies beneath the surface. As the team at Degree 33 Surfboards warns about reef breaks, « If you come off your board onto the coral, ouch!! Coral cuts can be pretty unforgiving. » A helmet won’t protect you from cuts, but it can be the difference between a concussion and a headache when your board’s fins, or the bottom itself, are in play during a wipeout. A crowded lineup, even on a sandbar, can also increase risk as stray boards become projectiles.
Rather than a simple « yes/no » answer, think of it as a risk matrix. You need to evaluate the combination of wave power, crowd density, and bottom type to make a smart call. The following table provides a framework for that decision:
| Scenario | Wave Power | Crowd Density | Bottom Type | Risk Level | Helmet Recommended |
|---|---|---|---|---|---|
| Powerful beach break, crowded lineup | High | High | Sand | High | Yes |
| Mellow reef break, empty lineup | Low | Low | Reef/Rock | Medium | Optional |
| Shallow reef break, overhead waves | High | Medium | Reef/Rock | Very High | Strongly Yes |
| Beach break, beginner waves, crowded | Low | High | Sand | Medium | Optional |
| Point break, intermediate waves, moderate crowd | Medium | Medium | Rock/Sand | Medium | Optional |
The choice to wear a helmet is a sign of a smart, self-aware surfer who understands risk management. It shows you’re thinking about longevity in the sport.
Don’t let ego dictate your safety. Analyze the conditions, make a calculated decision, and paddle out with the confidence that you’re prepared for the session.
Key takeaways
- True progression comes from understanding wave physics, not just finding famous spots.
- Your board is a tool; skill-based readiness, not desire, should dictate when you switch from foam to fiberglass.
- Mastering the lineup and tide charts is a strategic advantage that leads to more and better waves.
Outdoor Adventure Tech: Which Satellite Messenger Is Essential for Off-Grid Safety?
As your skills improve, your appetite for adventure grows. The hunt for uncrowded waves will inevitably lead you to more remote and isolated coastlines, far from cell service and immediate help. This is the moment where your safety equipment needs to evolve along with your surfing. A broken leash or a minor injury at a popular urban beach is an inconvenience. The same incident at a desolate break two hours from the nearest town can quickly become a serious emergency. This is where outdoor adventure tech becomes a non-negotiable part of your surf kit.
The cornerstone of off-grid safety for a surfer is a personal satellite messenger. Devices like a Garmin inReach or a SPOT Satellite GPS Messenger are no longer just for hardcore mountaineers. They provide a vital lifeline, allowing you to send pre-set « I’m OK » messages, track your location, and, most importantly, trigger an SOS signal that routes to an international emergency response coordination center. Imagine you’re surfing a remote point break, your car gets stuck in the mud on the way out, and your phone has no signal. A satellite messenger turns a potential multi-day survival scenario into a simple call for assistance.
Your off-grid surf safety kit shouldn’t stop there. A well-stocked first-aid kit specifically designed for surfers is crucial. It should go beyond basic bandages and include items for treating fin cuts (disinfectant, sterile closure strips), dealing with marine stings (vinegar), and managing minor sprains. Packing this gear isn’t a sign of fear; it’s a sign of a competent, self-reliant surfer who takes responsibility for their own safety and the safety of those around them. It’s the ultimate form of respect for the wild places that give us the waves we love.
Before you plan your next surf expedition to a remote corner of the coast, invest in the technology that ensures you’ll be able to come back and share the stories.
Personalized Fitness Training Plans: How to Build One for Post-40 Mobility Without a Coach?
At a certain point, the biggest obstacle to your surfing progression isn’t your technique—it’s your body. For many surfers, especially those over 40, issues like a stiff back, tight hips, and dwindling paddle endurance become the real limiting factors. You know what you need to do on the wave, but your body simply won’t cooperate. Building a personalized, surf-specific fitness plan is the key to unlocking new levels of performance and ensuring you can surf for decades to come.
You don’t need a high-priced coach to get started. The principles of surf fitness revolve around a few key areas. First is thoracic spine mobility. The ability to rotate your upper body is what allows for powerful, wrapping turns. If your upper back is stiff, you’ll be turning with your arms, not your whole body. Simple exercises like « cat-cow » stretches and using a foam roller on your upper back can make a world of difference. Second is hip mobility. A deep, compressed bottom turn requires flexible hips. A lack of hip mobility is a primary cause of surfers struggling to stay low and engaged with the rail of their board. Incorporate deep lunge variations and « pigeon pose » stretches into your daily routine.
Finally, focus on endurance and explosive power for paddling. This isn’t about lifting heavy weights. It’s about functional strength. Think exercises like kettlebell swings for explosive power, pull-ups for back strength, and high-intensity interval training (HIIT) on a rowing machine or with burpees to simulate the frantic paddle-battle for a set wave. A simple plan could be: two days of mobility work (15-20 minutes each) and two days of HIIT/strength work (20-30 minutes each) per week. Listen to your body, focus on perfect form over high reps, and be consistent.
This dry-land training might not feel as glamorous as surfing, but the first time you execute a powerful turn without your back tweaking, you’ll understand it’s the most important session you did all week.
Choosing a Bali Yoga Retreat: How to Avoid « Insta-Famous » Traps?
As you delve deeper into surfing, you’ll hear a constant refrain: « You should do yoga. » It’s great advice. The synergy between the two practices is undeniable. Yoga builds the exact flexibility, core strength, and mental fortitude needed to excel in the water. However, the modern wellness industry, especially in places like Bali, is filled with « Insta-famous » traps—retreats that are more about photogenic poses than functional improvement. To truly benefit your surfing, you need to look beyond the aesthetics and choose a practice or retreat that focuses on tangible, physical gains.
The first trap to avoid is the purely « restorative » or « meditative » style. While relaxing, it won’t build the active strength you need. Instead, look for styles like Vinyasa, Power Yoga, or Ashtanga. These styles link movement with breath in a continuous flow, building heat, strength, and endurance. They directly mimic the dynamic, flowing nature of surfing. A good yoga class for surfers should feel challenging; it should work your core, test your balance, and push your flexibility in a way that feels athletic.
The second, and perhaps most important, element to seek out is a focus on pranayama, or breathwork. Learning to control your breath, to remain calm and take deep, efficient breaths while under physical stress, is a superpower in surfing. It translates directly to staying relaxed during a long paddle out, recovering quickly between waves, and, crucially, managing fear and panic during a hold-down. A retreat that dedicates significant time to teaching breath control techniques is infinitely more valuable to a surfer than one that just focuses on handstands.
So, when you’re looking at that beautiful Bali yoga retreat, ask these questions: What style of yoga is it? Does the schedule include dedicated breathwork sessions? Is the teacher an experienced athlete themselves? Avoid the places that sell a « vibe » and seek out the ones that teach a functional, athletic practice. The goal isn’t to get a good photo for Instagram; it’s to develop the core strength and mental calm to handle a two-wave hold-down with confidence.
By choosing wisely, you can ensure your time on the mat directly translates to a more powerful, fluid, and confident performance in the ocean.